Inside the Guide

Sports photography posing may seem simple at first glance – just set up a greenscreen and your camera equipment and call off names. But without proper planning and skill, you may never get through the dozens – sometimes hundreds – of student athletes, particularly if they’re on the younger side.
If you’re ready to learn what it takes to be fast and efficient while still being profitable, read on for some tips and tricks from expert photographer Bob Kenward, co-founder and owner of Fluvanna Sports Photography.
Choosing the Right Equipment and Setup
As with any type of shoot, there are countless options for your lighting, settings, props, and backdrops. In our recent masterclass, Bob Kenward shared some of his top pieces of equipment, setup tips, and more. He’s demonstrated these, including how to use GotPhoto and outsource his memory mates graphics with Next Gen, in his masterclass video Lights, Camera, Extract: Posing Techniques for Fast-Paced Sports Photography.
Start with the right cart. It’s tempting to use less expensive carts or wagons like those made for the beach, but eventually, those will break – especially if you do any shoots outside on uneven terrain. Bob recommends the Rock-N-Roller cart.
Bob loves Westcott lights. They’re very supportive of the volume photography industry, and the FJ400 strobes provide enough power to use indoors or outdoors while also being fully battery powered!
Use whatever kind of modifier you want with your lights. Bob uses a 43” umbrella for soft light, and also notes it’s very forgiving.
It’s all about consistency! The photos you take today should look the same as last week’s. Take the time to measure out the exact distance between the light and backdrop, meter your lighting, etc.
Tips for Individual and Team Posing Flow
How do you move young athletes quickly and efficiently through a shoot? It requires finesse – and, as Bob points out, assistants are key!
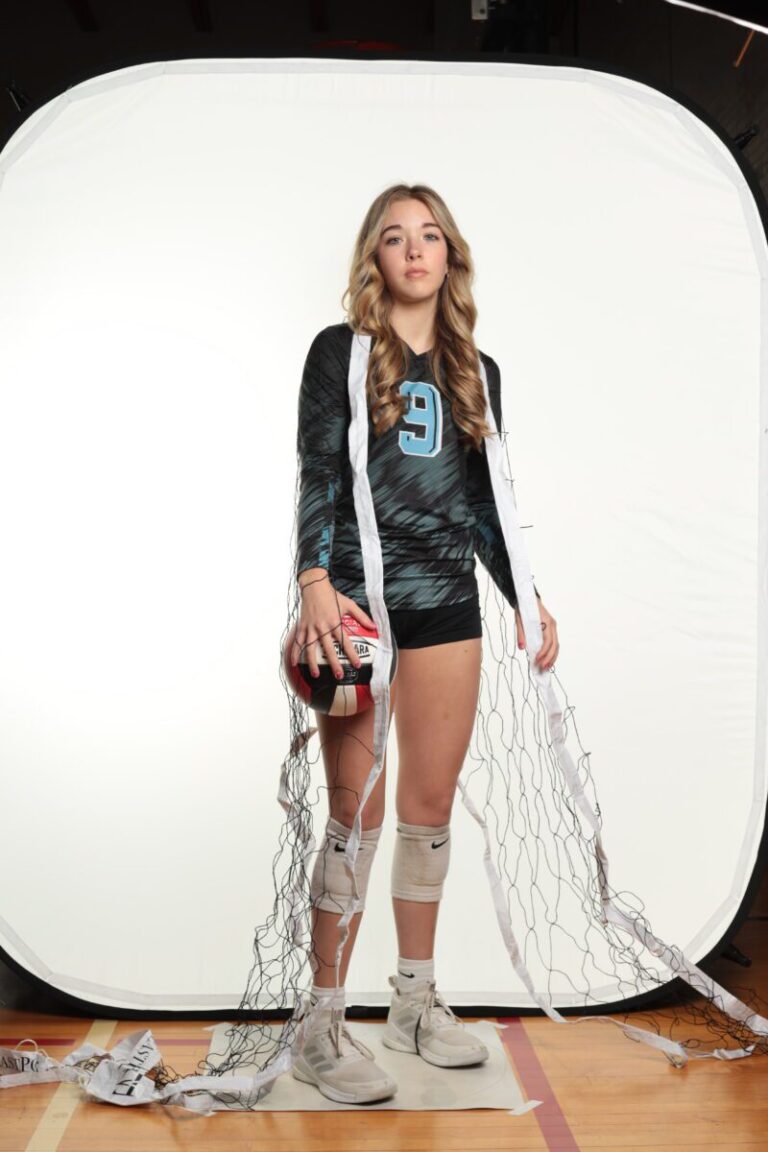
Have assistants. A check-in assistant will keep athletes flowing through, making sure you have their correct information and team. A posing assistant will also help athletes get into position quickly and can rearrange any props the athlete is using, like a volleyball net around the shoulders.
Take two shots in the same pose. The first will be used for the team photo and the second for parents. It also provides you with a clean image backup in case there are any issues unaddressed in one of the takes.
Check the focus. After each shot, Bob recommends hitting the zoom button to see where the focus is. It should be on the player’s eyes and only show the player’s face; if any other body part is present, take another photo.
Don’t panic if there’s glare from glasses. To maintain speed and efficiency, trust that outsourcing the edits and extractions to Next Gen will result in glare-free finished photos.
Prepare for younger athletes to take longer. It can take them longer to get into position (this is where a posing assistant is critical).
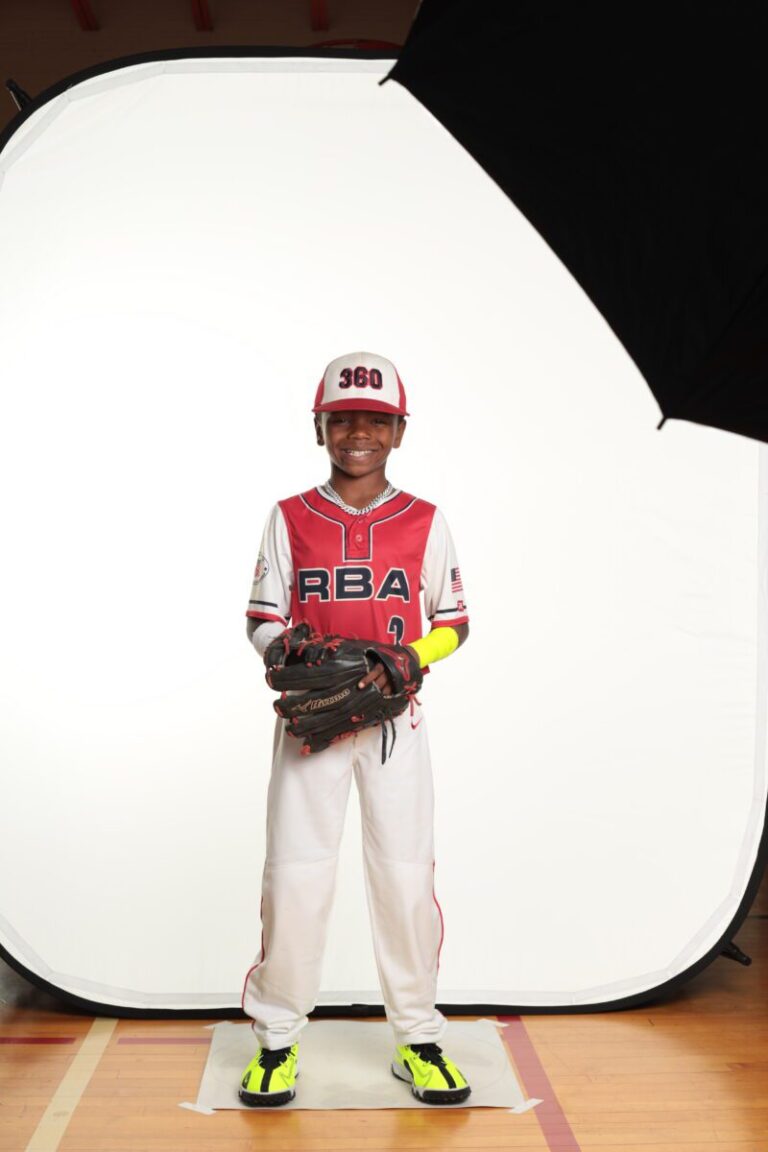
Account for shadows from baseball caps. Be sure to lower the light or use a kicker light to keep things bright.
Create upselling opportunities. By making minor adjustments to poses, you can capture multiple poses in a short amount of time, increasing your revenue and upselling options.
Top Poses for Volleyball Players
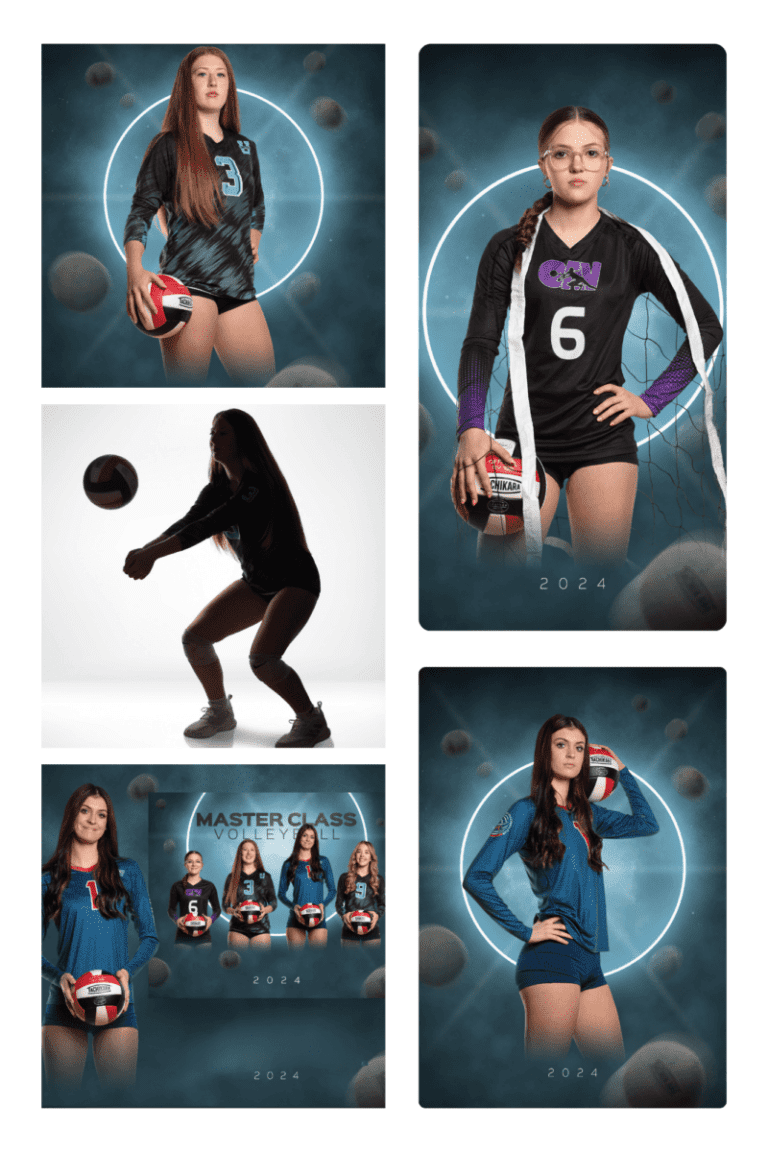
Every sport has different posing needs and features different props. Bob shares his volleyball team photo ideas and go-to poses for volleyball players, making sure to get two shots in each pose – one with the athlete smiling and one with a game face. He also notes that for volleyball and baseball/softball teams alike, travel leagues merit more time and poses for each player – so some of these poses aren’t used for non-travel league teams.
- Volleyball in front of the stomach for the team photo
- Volleyball on the hip
Volleyball on the shoulder with hand on the hip - Net around the shoulders (travel league)
- Dynamic shots like digs and serves (these might take a few tries to get right) (travel league)
Top Poses for Baseball and Softball Players
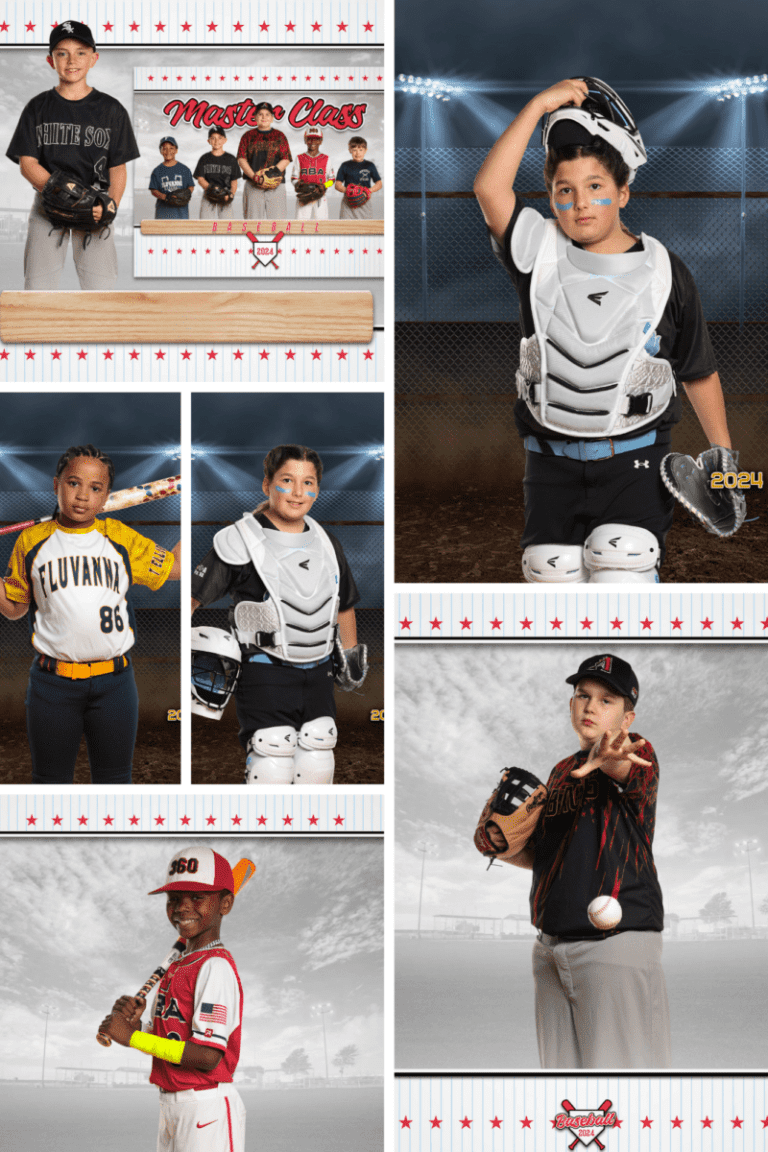
With balls, gloves, and bats, baseball and softball shoots can sometimes take longer. Travel ball, in particular, requires more poses and time. Here are some of Bob’s go-to softball and baseball photo poses.
- Glove in front of the waist for team posing
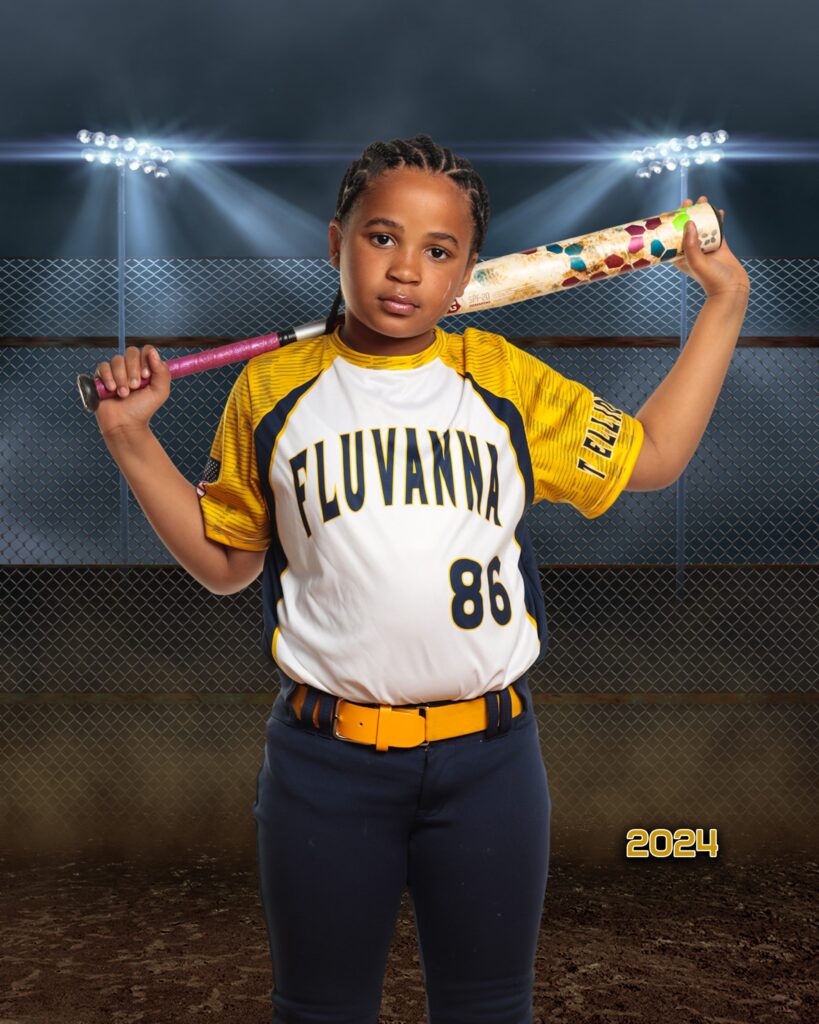
- Relaxed bat over the shoulder in a batting stance
- Bat held behind the shoulders
- Catcher holding helmet and glove (travel league)
- Catcher with helmet on top of the head (travel league)
Ball drop (travel league)
Masterclass
Posing Techniques for Fast-Paced Sports Photography
In Bob Kenward’s masterclass, he goes through four sessions where he shows you step by step how he sets up his equipment and which equipment he uses, how to move athletes through efficiently, how to extract and build team composites, and the GotPhoto and Next Gen workflow.
Whether you’re a seasoned pro or looking to expand your volume photography business to sports, you’ll walk away from this masterclass feeling more confident and ready to photograph athletes.
